아래 내용은 Udemy에서 Pytorch: Deep Learning and Artificial Intelligence를 보고 정리한 내용이다.
01. Introduction
1. Welcome
pytorch : simple and easy
CNNs
RNNs - sequence data
Stock Prediction with RNNs
GANs
Deep Reinforcement Learnin g: 강화학습
알파고
NLP
Object detection
facial recognition
deep fakes
2. overview and outline
tensorflow 업그레이드 되여서 간단해졌지만 high level
보통적인 것은 쉽지만 , 특수화 된것은 어렵다.
pytorch는 no need to use linear algebra and calculus to derive backpropagation
gpu
google colab
Jupyter Notebook but hosted by Google
NLP
Text classification
Embeddings
Transfer Learning
Their Network + Your Network
combine Your Network with theirs - get a state-of-the-art deep net within seconds
3. where to get the code
google colab
git clone <url>
git pull -> 마지막 버전
경험이다.
Theory lecture -> code lecture -> Possible extensions
02. Google Colab
4. jupyter notebook, goolge colab
download datafiles
access to GPU and TPU(Tensor Processing Unit)
stored in Google Driver( the "cloud")
many libiriary
google drive
Google colab이 안보일 경우
Connect More apps ->More menu -> colab
없을 경우 connect more apps
gpu, tpu 설정 runtimes에 가서 설정해야 한다.
runtime 연형변경
아래에 따라 code, text 추가하기

위의 조절함에 따라 글자체가 달라진다.
제목을 할것인지 선택하면 된다.


코드 추가하기
numpy, plt추가하기
import numpy as np
import matplotlib.pyplot as plt
예제
x = np.linspace(0, 10* np.pi, 1000)
y = np.sin(x)
plt.plot(x,y)
note book 이여서 plt.show()를 할 필요 없다.
__version__으로 버전 확인 하기
import tensorflow as tf
tf.__version__
disconnected일경우에는 다시 연결하면 된다. Reconnect

오래 동안 하지 않을 경우 에 메시지가 띄운다.
run out of memory 할 수 도 있다.
5. Uploading your own data to google colab
down load th data from a url
!wget를 사용한다.
데이터 다운로드 하기
!wget를 사용하여 데이터 다운로드 하기
!ls => 로 해당 경로 list확인 하기
!head => 앞의 몇 라인을 확인하기 , head row 있는지도 확인하기
헤더가 없어서 header = None으로 확인 한다.
import pandas as pd
df = pd.read_csv('arrhythmia.data', header = None)
여러가지 컬럼이 있기 때문에 앞의 몇개를 가공하면서 사용한다.
data = df[[0,1,2,3,4,5]]
data.columns = ['age', 'sex', 'height', 'weight', 'QRS duration' , 'P-R interval']
document를 활용하여 데이터의 정보를 알 수 있다.
!head arrhythmia.data
마지막에 ;을 하는게 좋다.
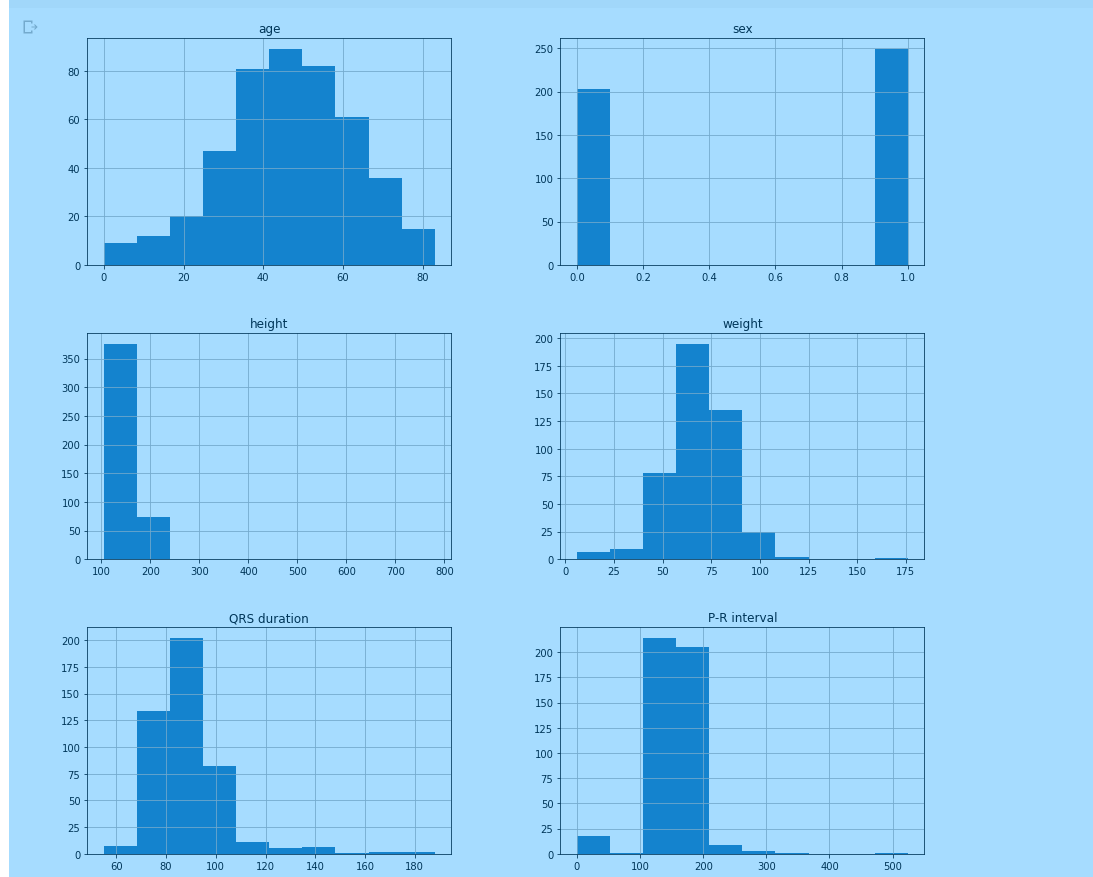
import matplotlib.pyplot as plt
plt.rcParams['figure.figsize'] = [15,15]
data.hist();
from pandas.plotting import scatter_matrix
scatter_matrix(data);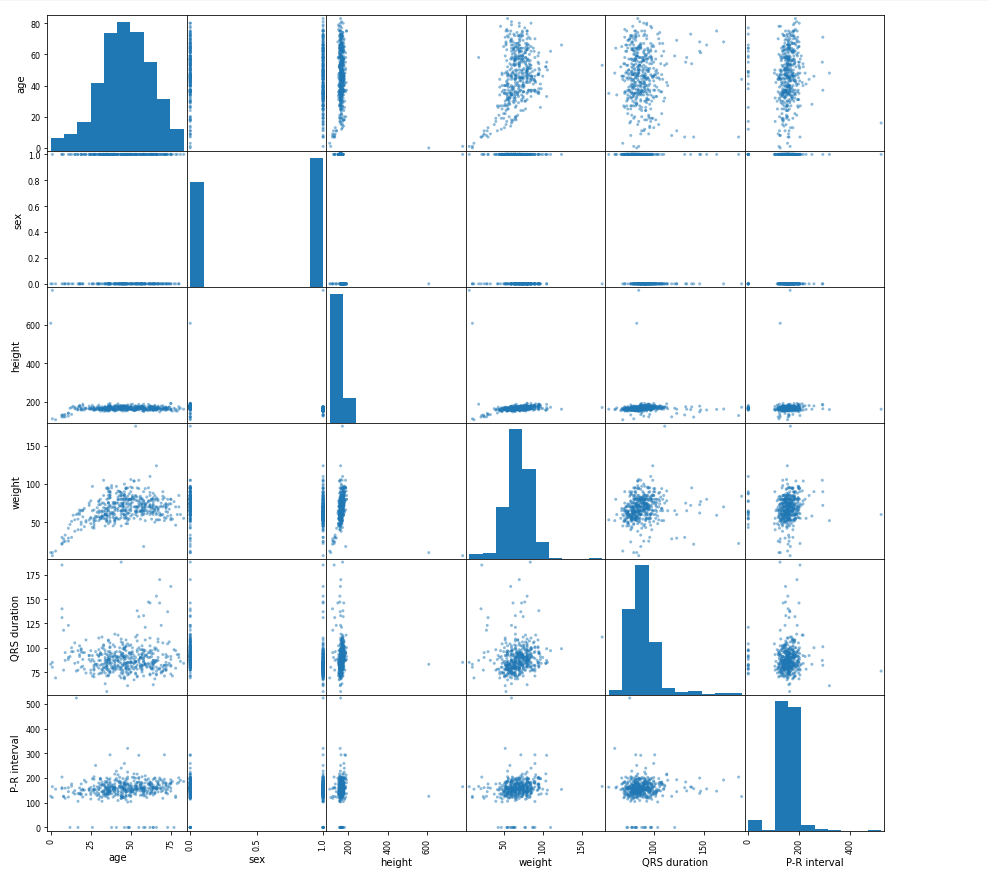
part 2: USING tf.keras
tensorflow 를 사용하는 이유는 pytorch만 사용할 수 없기 때문에 tensorflow 도 같이 사용할 떄도 있다.
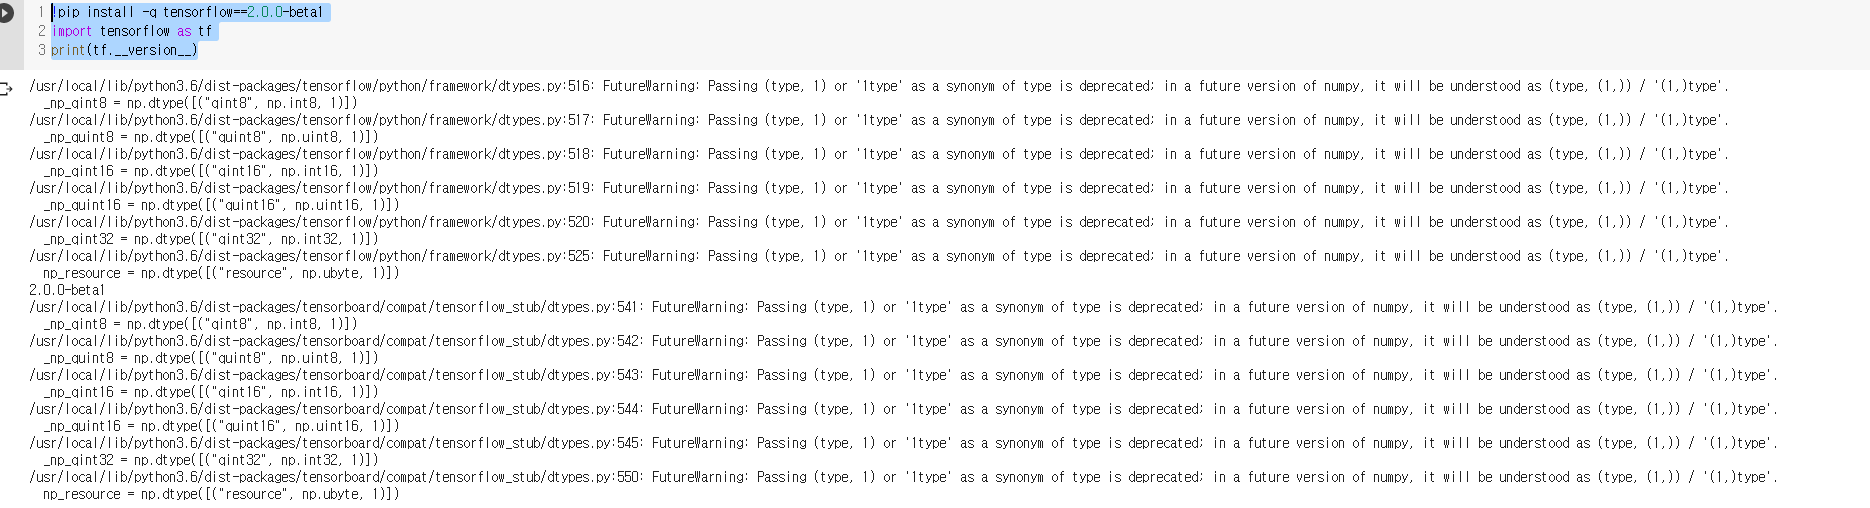
tensorflow downgrade
!pip install -q tensorflow==2.0.0-beta1
import tensorflow as tf
print(tf.__version__)
다운했는데도 불구하고 버전이 바꿔지지 않을 경우에는 runtime을 다시 시작하면 된다.

다시 수행할 경우에는
tf.keras.utils.get_file('auto-mpg.data', url)
!head '/root/.keras/datasets/auto-mpg.data'
헤더와 whitespace를 확인한다.
import pandas as pd
df = pd.read_csv('/root/.keras/datasets/auto-mpg.data', header = None, delim_whitespace=True)
df.head()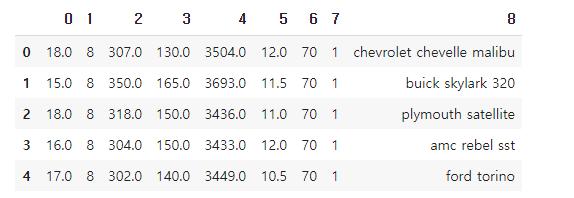
upload the file youself
from google.colab import files
uploaded = files.upload()
파일을 선택하여 할 수 있다.


dictionary를 확인할 수 있다.
uploaded
!ls
import pandas as pd
df = pd.read_csv('daily-minimum-temperatures-in-me.csv', error_bad_lines=False)
df.head()
from google.colab import files
uploaded = files.upload()
함수의 이름을 보여준다.
from fake_util import my_useful_function
my_useful_function()
!pwd
access file from google drive
mount the dirve
from google.colab import drive
drive.mount('/content/gdrive')
url 클릭후 코드 복사해서 넣는다.
!ls!ls gdrive
google drive에 뭐 있는지 확인한다.
!ls '/content/gdrive/My Drive'
6. where can I learn about numpy, scipy, matplotlib, pandas, and Scikit-learn?
Numpy
matrix arighmetic
tensors(arrays) Tensorflow로 왔다.
1-D tensor (vector)
2-D tensor (matrix)
3-D and 4-D tensors
계산
matrix multiply = dot/inner procuct(np.dot
element-wise multiply(x)
matplot
그림
pandas
loading data
scipy
no real use of this (so far)
numpy is lowe-level: adding, multiplying
power version of Numpy
scikit-learn
basic machine learning
Machine Learning step
1. Load in the data
2. split into trian/test sets
3. build a model
4. fit the model(gradient descent)
5. evaluate the model -> accuracy
overfitting and underfitting
6. make predictions <- need to convert between Numpy array and Torch Tensor
'교육동영상 > 02. pytorch: Deep Learning' 카테고리의 다른 글
| 06-2. Recurrent Neural Networks, Time Series, and Sequence Data (0) | 2020.12.14 |
|---|---|
| 06. Recurrent Neural Networks, Time Series, and Sequence Data (0) | 2020.11.20 |
| 05. Convolutional Nerual Networks (0) | 2020.11.19 |
| 04. Feedforward Artificial Neural Networks (1) | 2020.11.18 |
| 03. Machine Learning and Neurons (0) | 2020.11.16 |