동영상 참조하여 정리
데이터 다운
Computer Vision Datasets
Download free, open source datasets for computer vision machine learning models in a variety of formats.
public.roboflow.com
필요한 패키지 설치하기
runtime 유형 변경
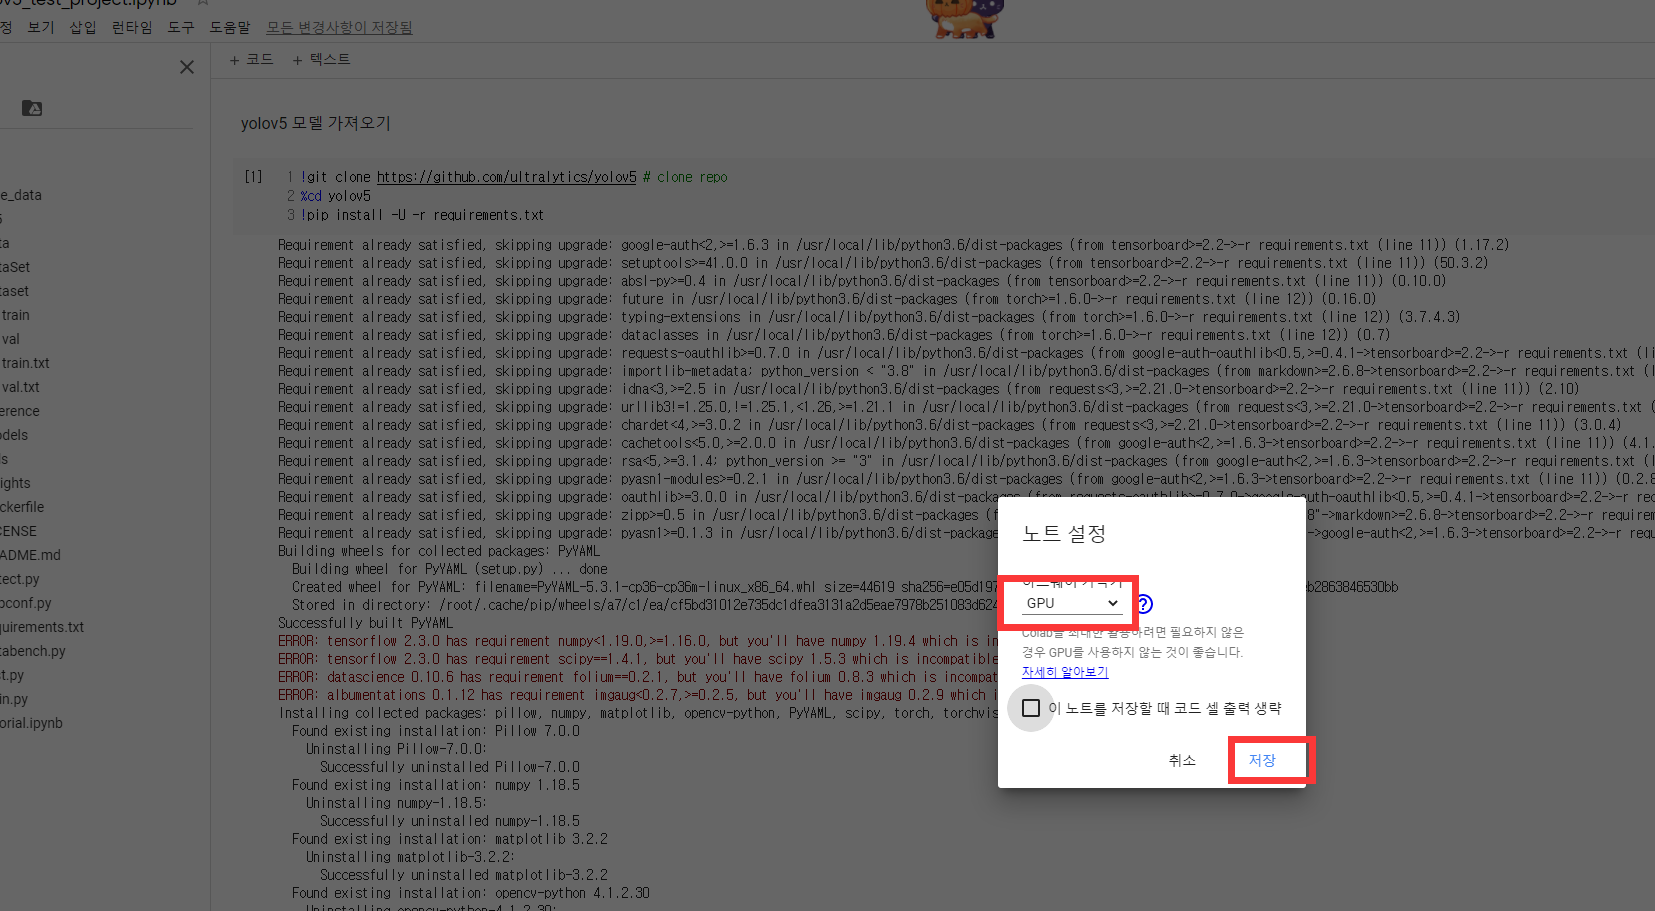
하드웨어 가속기를 gpu로 사용한다.
label 이 x , y , width , height 로 지정되여있다.
classs ,x,y , width , height
yolov5 모델 불러오기
yolov4 를 github에서 받는다.
%cd /content
!git clone https://github.com/ultralytics/yolov5.git
yolov5 디렉토리로 이동한다
%cd /content/yolov5/
필요한 패키지 설치하기
!pip install -U -r requirements.txtyaml 확인하기
%cat dataset/dataset40.yaml
포함 하고 있는것은
train 경로
val경로
nc : class종류
mame : class 이름
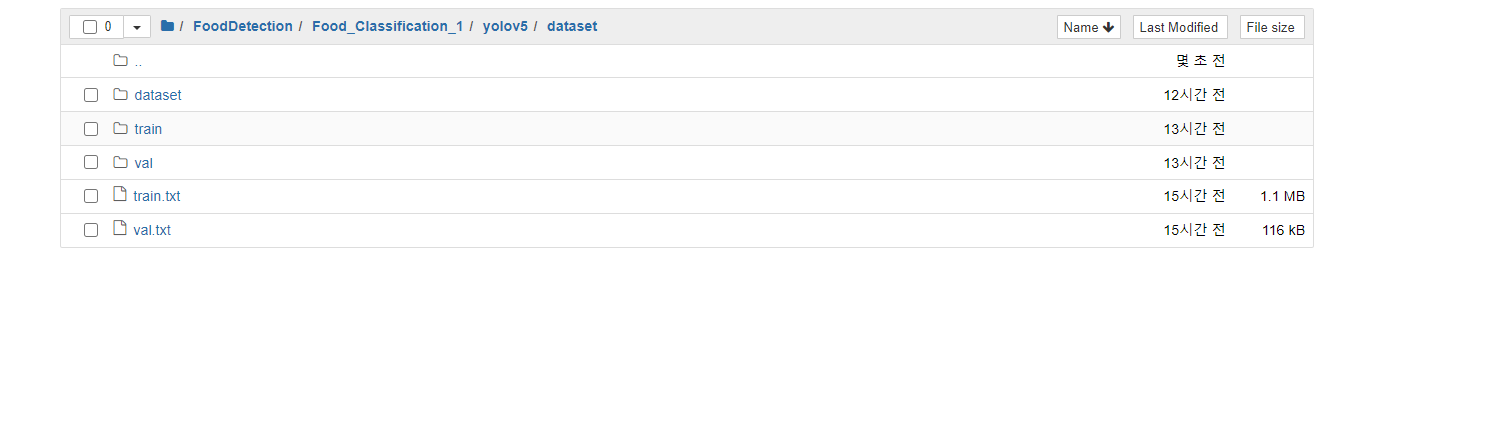
경로가 잘못 될 경우 수정해야 하고 train val 나누기
데이터 모으기
from glob import glob

img_list = glob("/content/yolov5/dataSet/*/*.jpg")
print(len(img_list))
train validation set으로 나누기
from sklearn.model_selection import train_test_split

train_img_list, val_img_list = train_test_split(img_list, test_size = 0.1, random_state=2000)
print(len(train_img_list), len(val_img_list))
train image랑 validation 이미지 경로 를 txt 파일로 저장하기
with open("/content/yolov5/dataset/val.txt", "w") as f:
    f.write('\n'.join(train_img_list) + '\n')

with open("/content/yolov5/dataset/train.txt", "w") as f:
    f.write('\n'.join(val_img_list) + '\n')
내용을 보면
이런식으로 하위에 생긴다.
이미지 들이 한줄 씩 저장되여 있다.
나눈후 위에 있었든 yaml 파일을 수정
import yaml

with open('/content/yolov5/data.yaml','r') as f:
	data = yaml.load(f)

print(data)
json 불러오는 것과 동일하다.
data['train'] = '/content/yolov5/dataset/train.txt'
data['val'] = '/content/yolov5/dataset/val.txt'

with open('/content/dataset/data.yaml' ,'w') as f:
	yaml.dump(data, f)

print(data)
%cd /content/yolov5/

!python train.py --img 416 --batch 16 --epochs 50 --data /content/yolov5/data.yaml \
--cfg ./models/yolov5s.yaml --weights yolov5s.pt --name customtest
train.py : trainning 시키는 파일 실행시킨다.
github.com/ultralytics/yolov5 이 경로에서
github.com/ultralytics/yolov5/wiki/Train-Custom-Data

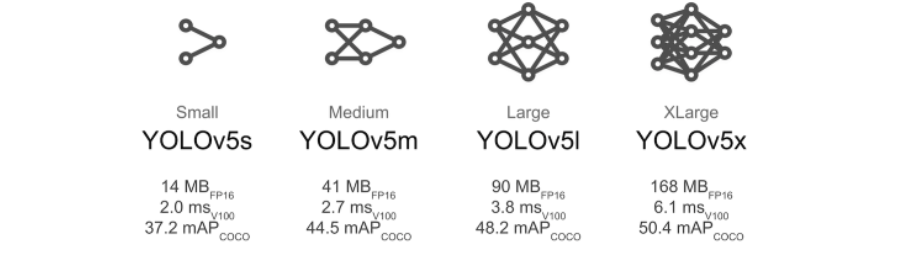
cfg 는 모델의 구조를 나타난다.
yolov5/models에 정의가 되여있다.

yolov5x.yaml 가장 큰 것
yolov5l.yaml 큰 것
yolov5m.yaml 중간것
yolov5s.yaml 작은것
https://github.com/ultralytics/yolov5/issues/1289
Weights & Biases with YOLOv5 🌟 · Issue #1289 · ultralytics/yolov5
📚 This guide explains how to use Weights & Biases (W&B) with YOLOv5 🚀. UPDATED 25 November 2021. About Weights & Biases First-Time Setup Viewing runs Disabling wandb Advanced Usage: Dat...
github.com
weights: pretrained model 사용 한다.
name : 사용하는 폴더 이름
gpu 사용은 using cuda device

메모리는 15기가 정도 된다.
pretrained 모델 먼저 받은 다음에 training을 시작하게 된다.
image 개서
targets label 개수
P precision
R RECALL
mAP@.5
mAP@.5:95
training 되는 결과는 runs/아래에 있다.
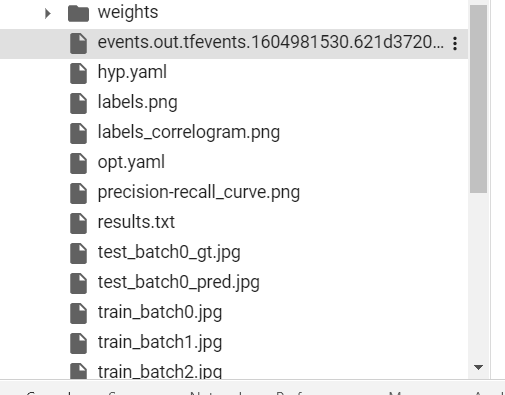
test batch 하는 것 실시간으로 볼 수 있다.
test_batch0_pred.jpg는 예측된 결과를 보여준다.
test_batch0_gt ground truth 실제 참값이고
train_batch 도 들어간다.
끝나면 precision , recall ,mAP 정보가 다나오고
WEIGHT,가 저장 됬다는 것이 나온다.
pytorch 버전
학습 결과 result
텐스 보드 찍어본다.
%load_ext tensorboard
%tensorboad --logdir /content/yolov5/runs/
tensorboard 가 보인다.
정확도 확인
from IPython.display import Image
import os

val_img_path = val_img_list[0]

!python detect.py --weights /content/yolov5/runs/exp0_/weights/best_.pg --img 416 --conf 0.5 --sourch "{val_img_path}"
결과가 /content/yolov5/inference/output
보기가 힘들어서
val_img_path = val_img_path[2]
Image(os.path.join('/content/yolov5/inference/output', os.path.basename(val_img_path)))
best weight를 다운로드 해서 한다.
동영상이 생성된다.
python detect.py --source ../vedio.mp4 --weights ../best_.py
format에 따라 바운딩 박스는 (x, y, w, h), x, y, x+w, y+h), (x_center, y_center, w, h) 등으로 표현됩니다. YOLO v5에서는 (x_center, y_center, w, h)의 형식을 따릅니다.
yolov5를 학습할 경우에는 정규화를 해야 한다. 0~1 사이로
def convert(size, box): # (XM, xmin, xmin, xmin, xmin, xmin, xmin, xmin, xmin, xmin, xmin, xmin, xmin, xmin, xmin, xmin, xmin, xmin, xmin, xmin, xmin, xmin, xmin, xmin, xmin, xmin, xmin
    dw = 1./size[0]     # 1/w
    dh = 1./size[1]     # 1/h
    x = (box[0] + box[1])/2.0   # The x coordinate of the center point of the object in the graph
    y = (box[2] + box[3])/2.0   # The y coordinate of the center point of an object in a graph
    w = box[1] - box[0]         # Actual pixel width of object
    h = box[3] - box[2]         # Actual pixel height of object
    x = x*dw    # The coordinate ratio of the center point x of the object (equivalent to x / original image w)
    w = w*dw    # Width ratio of object width (equivalent to w / original image w)
    y = y*dh    # The coordinate ratio of the center point y of the object (equivalent to Y / original image h)
    h = h*dh    # Width ratio of object width (equivalent to h / original image h)
    return (x, y, w, h)    # Returns the x-coordinate ratio, y-coordinate ratio, width ratio, height ratio of the center point of the object relative to the original image, and the value range [0-1]


# Year = 2012 ', the id (file name) of the corresponding image
def convert_annotation(image_id):
    '''
    The xml File to label Documents, xml The file contains the corresponding bunding Box and picture length, size and other information,
    Through the analysis, and then normalization, finally read label In the document, that is to say
    One image file corresponds to one xml Then, through parsing and normalization, the corresponding information can be saved to a unique one label In the file
    labal Format in file: calss x y w h  At the same time, there are multiple categories corresponding to an image, so the correspondingbundingThere are also multiple messages
    '''
    # Find the corresponding folder through year and open the corresponding image_id, which corresponds to the bund file
    in_file = open('data/Annotations/%s.xml' % (image_id), encoding='utf-8')
    # Prepare the corresponding image_ Write the corresponding label s in ID, which are
    # <object-class> <x> <y> <width> <height>
    out_file = open('data/labels/%s.txt' % (image_id), 'w', encoding='utf-8')
    # Parsing xml file
    tree = ET.parse(in_file)
    # Get the corresponding key value pair
    root = tree.getroot()
    # Get the size of the picture
    size = root.find('size')
    # Get wide
    w = int(size.find('width').text)
    # Get high
    h = int(size.find('height').text)
    # Traverse obj
    for obj in root.iter('object'):
        # Get difficult??
        difficult = obj.find('difficult').text
        # Get category = string type
        cls = obj.find('name').text
        # If the category does not correspond to our scheduled class file, or difficult==1, skip
        if cls not in classes or int(difficult) == 1:
            continue
        # id found by category name
        cls_id = classes.index(cls)
        # Find the bndbox object
        xmlbox = obj.find('bndbox')
        # Get the corresponding array of bndbox = ['xmin','xmax','ymin','ymax']
        b = (float(xmlbox.find('xmin').text), float(xmlbox.find('xmax').text), float(xmlbox.find('ymin').text),
             float(xmlbox.find('ymax').text))
        print(image_id, cls, b)
        # Bring in for normalization operation
        # w = width, h = height, B = array of bndbox = ['xmin','xmax','ymin','ymax']
        bb = convert((w, h), b)
        # bb corresponds to normalized (x,y,w,h)
        # Generate calss x y w h in the label file
        out_file.write(str(cls_id) + " " + " ".join([str(a) for a in bb]) + '\n')
- xmin: x-coordinate of the bottom left part of the image
- xmax: x-coordinate of the top right part of the image
- ymin: y-coordinate of the bottom left part of the image
- ymax: y-coordinate of the top right part of the image
- labels : Encoded cell-type (Yolo - label input-1)
- width : width of that bbox
- height : height of that bbox
- x_center : bbox center (x-axis)
- y_center : bbox center (y-axis)
- x_center_norm : x_center normalized (0-1) (Yolo - label input-2)
- y_center_norm : y_center normalized (0-1) (Yolo - label input-3)
- width_norm : width normalized (0-1) (Yolo - label input-4)
- height_norm : height normalized (0-1) (Yolo - label input-5)
(labels, x_center_norm, y_center_norm, width_norm, height_norm)
towardsai.net/p/computer-vision/yolo-v5-object-detection-on-a-custom-dataset
Yolo-v5 Object Detection on a custom dataset.
towardsai.net
출처 :
www.fatalerrors.org/a/2tp10Q.html
YOLOv5 realizes target detection (train one's own data set to realize cat and cat recognition)
1, Summary On June 10, 2020, Ultralytics officially released YOLOv5 on github. YOLO series can be said to be the front line of power flow in single machine target detection framework. YOLOv5 is not a single model, but a model family, including yolov5s (min
www.fatalerrors.org
www.youtube.com/watch?v=T0DO1C8uYP8
'Deep learning > 소스' 카테고리의 다른 글
| yolov5 coco data set training (0) | 2021.09.17 |
|---|---|
| classification mnist-LeNet-5 (0) | 2021.04.03 |
| yolov5 모델pt (0) | 2021.03.26 |
| classification model code (0) | 2021.01.14 |
| python 한국 시간으로 설정 (0) | 2020.11.17 |